

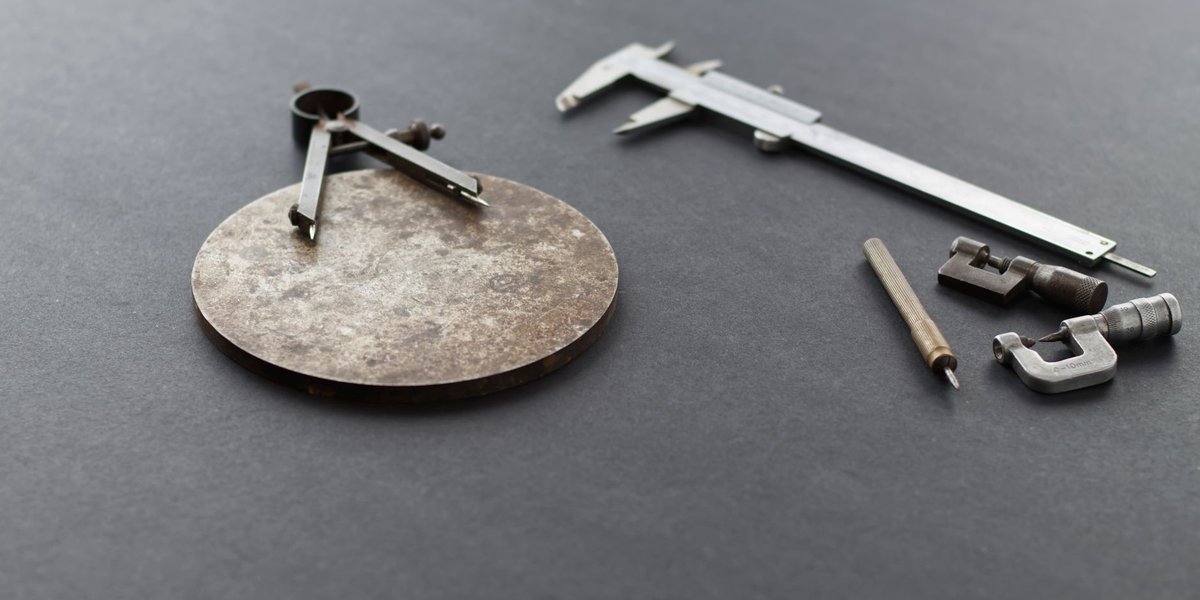
A measuring instrument is any device that turns a physical quantity into a number you can read: a length into millimeters, a temperature into degrees, a current into amps. That’s the whole definition. The useful part is knowing which instrument fits which job, and how much you can trust the number it gives you.
Most guides hand you an alphabetical pile of names. This one sorts instruments by what you want to measure, tells you the typical accuracy to expect, and covers the mistakes that ruin readings more often than a bad tool does.
Table of contents
- Four terms that decide whether a reading is any good
- Length and distance
- Mass and weight
- Temperature
- Pressure
- Time
- Electricity
- Volume
- Comparison table
- How to choose the right instrument
- Care, calibration and common mistakes
- Summary
Four terms that decide whether a reading is any good
Before the instruments, the vocabulary. People use these words interchangeably, and they mean different things.
Resolution is the smallest step the instrument can show. A ruler marked in millimeters has a resolution of 1 mm. A digital caliper that displays 0.01 mm has a resolution of 0.01 mm.
Accuracy is how close the reading is to the true value. Precision is how closely repeated readings agree with each other. A bathroom scale that always says 2 kg too much is precise and inaccurate. It’s consistent, and consistently wrong.
Calibration is the check that fixes the gap. You compare the instrument against a reference of known value and record, or correct, the difference. Good calibration is traceable: a chain of comparisons that leads back to the international system of units maintained by bodies such as the BIPM.
One trap deserves a warning. Resolution is not accuracy. A digital display that shows four decimals looks authoritative, but the last digits can be noise. Always check the stated accuracy, not the number of digits.
Length and distance
Length tools run from the humble to the extremely fussy, and the main decision is how small a difference you need to detect.
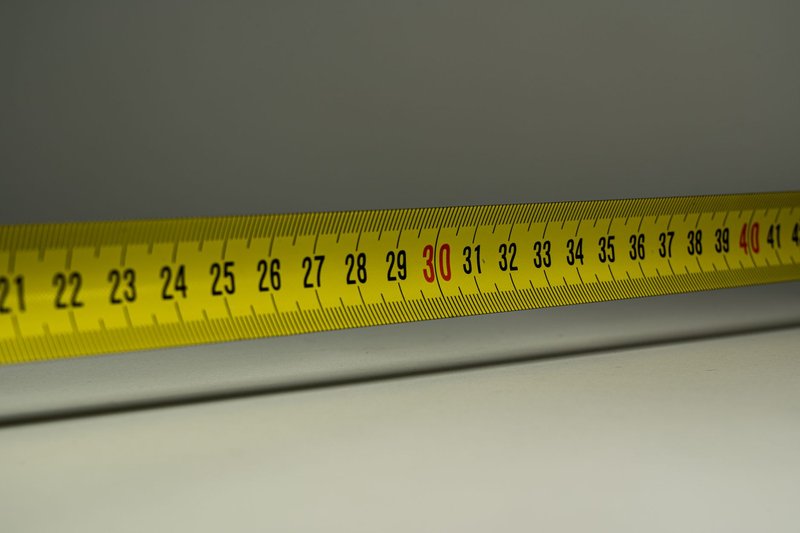
Ruler and tape measure. Resolution around 1 mm. Good for cutting wood, bad for fitting a bearing.
Vernier caliper. Slides along a main scale, with a second sliding scale that lets you read between the marks. Typical resolution is 0.02 mm. It measures outside diameters, inside diameters and depths with one tool, which is why it lives in every workshop.
Digital caliper. The same job with a screen. Resolution is usually 0.01 mm, and it’s easier to read, but cheap units drift with battery trouble and dirty sensors.
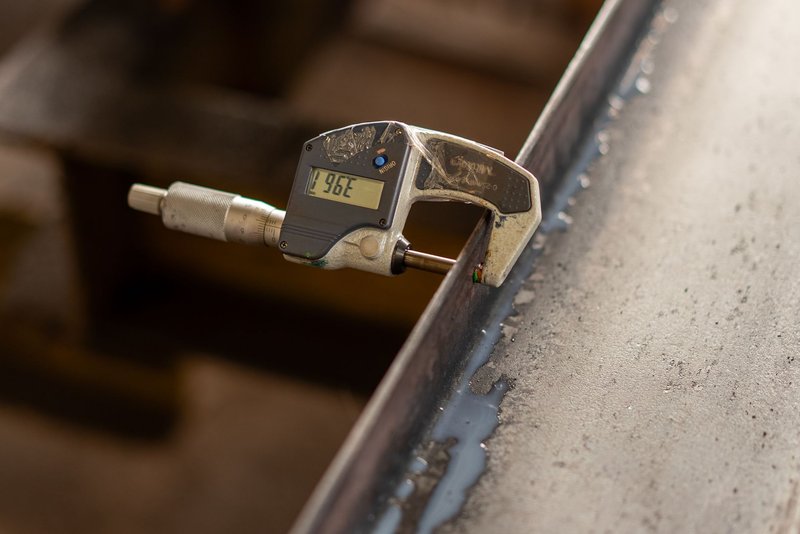
Micrometer. A precision screw turns against a fixed anvil. A standard outside micrometer reads to 0.01 mm, and a vernier-scale or digital model reaches 0.001 mm. The trade-off is range: each micrometer covers only 25 mm, so you need a set of them (0-25 mm, 25-50 mm and so on) to measure bigger parts.
Laser distance meter. Times a laser pulse to a surface. Typical accuracy is about 2 mm over tens of meters. It’s a room-measuring tool, not a machining tool.
Micrometer versus vernier caliper
The micrometer wins on precision, the caliper wins on versatility. A micrometer is roughly ten times finer because its screw thread multiplies a tiny movement of the anvil into a large, readable turn of the thimble. It also has a ratchet that limits the clamping force, so two people get nearly the same reading. A caliper has no such limit, so a heavy hand squeezes the part and shifts the number.
Rule of thumb: if the tolerance is looser than about 0.05 mm, use a caliper. If it’s tighter, use a micrometer.
Mass and weight
Strictly, scales measure force and convert it to mass, which is why a balance calibrated in one city can read slightly off in another with different gravity.
Spring scale. Measures weight by stretching a spring. Accuracy of a few percent. Fine for a fishing catch, poor for chemistry.
Kitchen scale. Strain-gauge sensor, resolution of 1 g. Good enough for baking, which is a surprisingly forgiving form of chemistry.
Analytical balance. Used in labs—particularly for chemistry work—it reads to 0.1 mg (0.0001 g), and sits inside a draft shield because air currents and even body heat move the reading. It needs a level, stable bench and regular calibration with certified reference weights.
Triple-beam balance. Compares an unknown mass against sliding weights. Resolution about 0.1 g, no electronics, and it still shows up in school labs because nothing about it can fail quietly.
Temperature
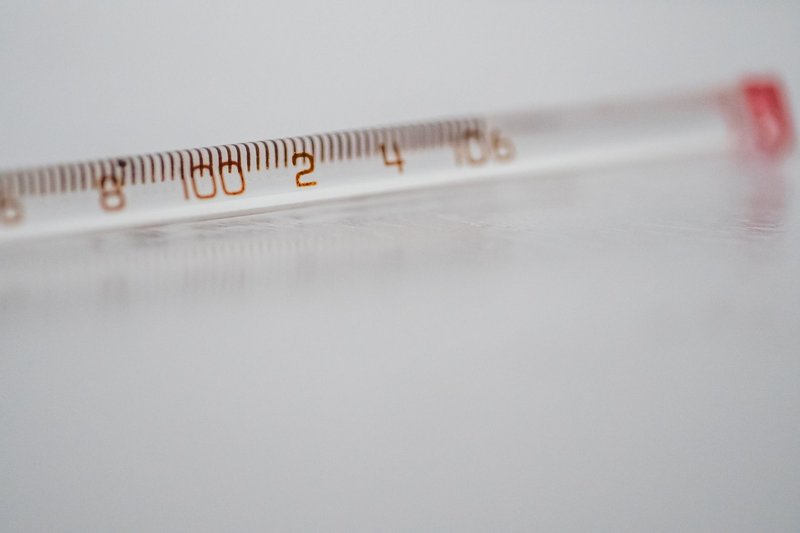
Liquid-in-glass thermometer. Alcohol or mercury expands up a narrow tube. Typical accuracy is about 1 °C for general-purpose models, and better for lab-grade ones.
Thermocouple. Two dissimilar metals joined at a tip generate a small voltage that depends on temperature. A common K-type covers roughly -200 °C to 1,250 °C with an accuracy around 1.1 °C or 0.4 percent, whichever is greater. It’s rugged and fast, which is why it’s in ovens, engines and furnaces.
RTD (resistance temperature detector). A platinum element whose resistance rises predictably with heat. A Pt100 sensor of Class A is accurate to about 0.15 °C at 0 °C. It’s slower and more fragile than a thermocouple, but far more stable.
Infrared thermometer. Reads the radiation coming off a surface, so you never touch it. The catch: shiny metal reflects infrared and reads low. Point it at a dull or painted patch.
Pressure
Bourdon gauge. A curved, flattened tube straightens slightly as pressure rises, and a linkage turns that movement into a needle sweep. This is the round dial on tire inflators, boilers and gas cylinders. Typical accuracy is 1-2 percent of full scale, which means a 0-1000 kPa gauge may be off by 10-20 kPa anywhere on the dial.
Manometer. A U-shaped tube of liquid. The height difference between the two sides tells you the pressure difference. No moving parts, very accurate for low pressures, and a fine example of physics you can see.
Barometer. Measures atmospheric pressure. Mercury versions are the classic (about 760 mm of mercury at sea level), while the aneroid type uses a sealed, flexible metal capsule and is what ends up in most homes and weather stations.
Pressure transducer. Converts pressure to an electrical signal, so a computer can log it. This is the sensor inside most modern industrial equipment.
Time
Stopwatch. Digital models resolve 0.01 s, but a human pressing the button adds roughly 0.2 s of reaction error. For timing a pendulum swing, time ten swings and divide, which cuts that error by a factor of ten.
Quartz clock or watch. A crystal oscillates at 32,768 Hz when voltage is applied. A typical wristwatch drifts about 15 seconds a month.
Atomic clock. Counts the microwave frequency of atoms such as cesium. NIST’s cesium fountain clocks are accurate to about one second in hundreds of millions of years, and they define the second itself.
Electricity
Ammeter, voltmeter and ohmmeter. Measure current, voltage and resistance. Almost nobody buys them separately anymore, because a multimeter combines all three.
Multimeter. The all-purpose electrical tool. A typical handheld model reads DC voltage with an accuracy around 0.5 percent. Bench models go far beyond that, but you won’t need one unless you’re calibrating other instruments.
Analog versus digital multimeter. An analog meter has a needle on a scale. It’s less accurate, usually 2-3 percent of full scale, and harder to read precisely. Its advantage is that a moving needle shows trends and fluctuations at a glance, such as a signal that wobbles or a battery that slowly sags. A digital meter gives a cleaner number and is the better pick for nearly every job. If you’re measuring something that drifts, watch the bar graph or an analog needle instead of squinting at flickering digits.
Oscilloscope. Draws voltage against time, so you see the shape of a signal, not just its average. It’s what you use when a multimeter reads “something” but you need to know why.
Clamp meter. Wraps around a wire and measures current via its magnetic field, with no need to break the circuit.
Volume
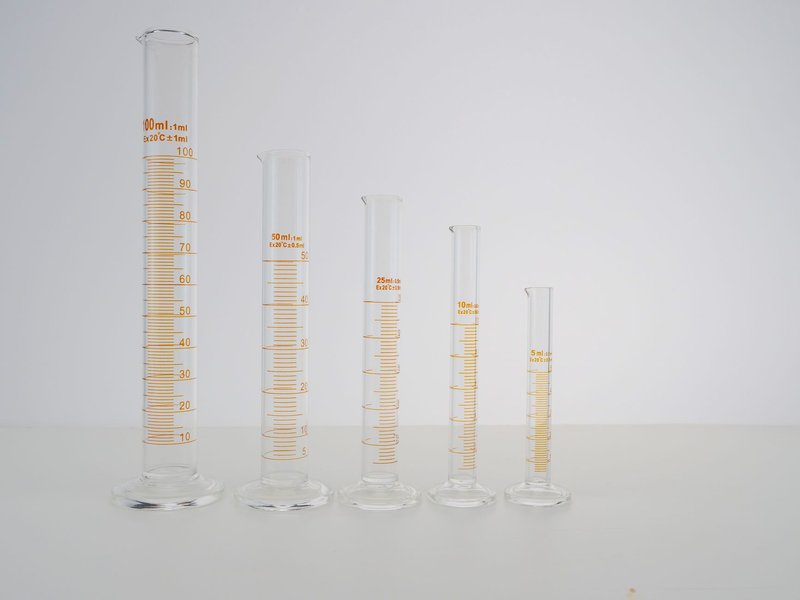
Lab glassware is a measuring-instrument family people forget, yet it represents a crucial part of any laboratory equipment setup. The choice depends on how close you need to get.
Beaker. Marked in rough steps, with errors of 5 percent or more. It’s a container first and a measuring device a distant second.
Graduated cylinder. Typical error is about 0.5-1 percent. Read it at eye level, at the bottom of the curved liquid surface (the meniscus).
Volumetric pipette. Delivers one fixed volume. A Class A 10 mL pipette is accurate to about 0.02 mL.
Burette. A tall, tapped tube for dispensing liquid drop by drop, as in titration. A Class A 50 mL burette is accurate to about 0.05 mL.
Comparison table
| Instrument | Measures | Typical range | Typical accuracy or resolution | Where used |
|---|---|---|---|---|
| Tape measure | Length | 0-8 m | 1 mm | Carpentry, home projects |
| Vernier caliper | Length | 0-150 mm | 0.02 mm | Workshops, machining |
| Micrometer | Length | 0-25 mm per size | 0.01 mm (0.001 mm digital) | Precision engineering |
| Kitchen scale | Mass | 0-5 kg | 1 g | Cooking |
| Analytical balance | Mass | 0-200 g | 0.1 mg | Chemistry labs |
| Thermocouple (K-type) | Temperature | -200 to 1,250 °C | About 1.1 °C or 0.4% | Ovens, engines, industry |
| Pt100 RTD | Temperature | -200 to 600 °C | About 0.15 °C at 0 °C | Labs, process control |
| Bourdon gauge | Pressure | Varies by model | 1-2% of full scale | Tires, boilers, gas cylinders |
| Stopwatch | Time | Hours | 0.01 s display, 0.2 s human error | Sports, labs |
| Handheld multimeter | Voltage, current, resistance | Varies | About 0.5% (DC voltage) | Electronics, repairs |
| Graduated cylinder | Volume | 10-1000 mL | 0.5-1% | Teaching and general labs |
| Volumetric pipette | Volume | 1-100 mL | About 0.02 mL at 10 mL | Analytical chemistry |
How to choose the right instrument
Work backward from the tolerance, not forward from the tool in your drawer.
- Decide how much error you can accept. If a part must fit within 0.1 mm, a ruler is out and a caliper is in.
- Use an instrument about ten times finer than that tolerance. This is a long-standing rule of thumb in metrology: the tool’s uncertainty should be a small fraction of what you’re trying to detect.
- Match the instrument to the conditions. A glass thermometer breaks in a kitchen drawer, a thermocouple survives a furnace, an infrared gun can’t measure a shiny pot.
- Prefer fewer sources of human error. Ratchet stops on micrometers, digital readouts on multimeters, and timing multiple swings of a pendulum all take the person’s influence out of the number.
- Don’t pay for resolution you can’t use. Weighing flour on an analytical balance is not rigor. It’s a draft shield and a long wait.
Care, calibration and common mistakes
A few habits keep readings honest.
Zero first. Close a caliper or micrometer and check that it reads zero. Tare a scale with nothing on it. An offset you don’t check applies to every reading afterward.
Read at eye level. The sloping-angle error, called parallax, makes needles, meniscuses and rulers look shifted. Look straight on.
Let things reach equilibrium. A thermometer needs time to match the thing it measures. A steel part you just handled is slightly warm from your hand, and metal expands. Precision length measurements are officially defined at 20 °C.
Repeat the measurement. Take three readings and average them. If they disagree, the spread tells you more about your uncertainty than the instrument’s label does.
Don’t force it. Over-tightening a caliper or micrometer compresses the part and wears the faces. Use the ratchet.
Clean and store properly. Wipe off oil and grit before and after use, and keep precision tools in their cases, away from impacts and moisture.
Calibrate on a schedule. Home tools may need a check once a year against a known reference, such as a gauge block for calipers or a certified weight for scales. Lab and industrial instruments are calibrated by a lab that can trace its standards to national bodies like NIST, with intervals typically set by how critical the measurement is and how much the instrument drifts. Calibration after a drop or a spill is not optional.
Summary
Pick the instrument by quantity (length, mass, temperature, pressure, time, electricity or volume), then by the accuracy you need. Resolution is what the display shows, accuracy is what the instrument can actually deliver, and calibration is how you know the difference. A micrometer reads finer than a vernier caliper but covers less range, and a digital multimeter beats an analog one for numbers while the analog needle wins for watching changes.
Zero your tools, read them straight on, repeat the measurement, and calibrate on a schedule. A cheap instrument used carefully will beat an expensive one used carelessly most of the time.