Here’s the thing nobody tells you about the styrofoam-ball solar system model your kid is about to glue together: it’s a lie. A beautiful, classroom-approved lie. If the planets in a model are sized to fit on a poster board, and the distances are sized to fit the same board, you’ve broken the universe by a factor of about ten million. The real solar system is mostly empty space, and that’s exactly the part every model leaves out.
That doesn’t mean styrofoam models are useless. It means you should know what you’re making before you make it. This guide covers three things: the easy builds (sorted by age, with materials and steps), the kits worth buying if you’re short on time, and the one thing almost every model gets wrong — scale. Stick around for the scale section even if you’re buying a kit. It’s the part that turns a craft project into an actual astronomy lesson.
Contents
- What a solar system model actually is
- DIY models by age and difficulty
- Best solar system model kits to buy
- How to make your model accurate to scale
- Free printable: planet order and facts
- Common mistakes
What a solar system model actually is
A solar system model is any physical or digital representation of the Sun and the objects orbiting it — eight planets, their moons, the asteroid belt, and depending on how thorough you’re feeling, dwarf planets like Pluto and Ceres. Ambitious builders sometimes add the icy visitors that swing through too; if you want to include a few, these interesting facts about comets make handy talking points for the model.
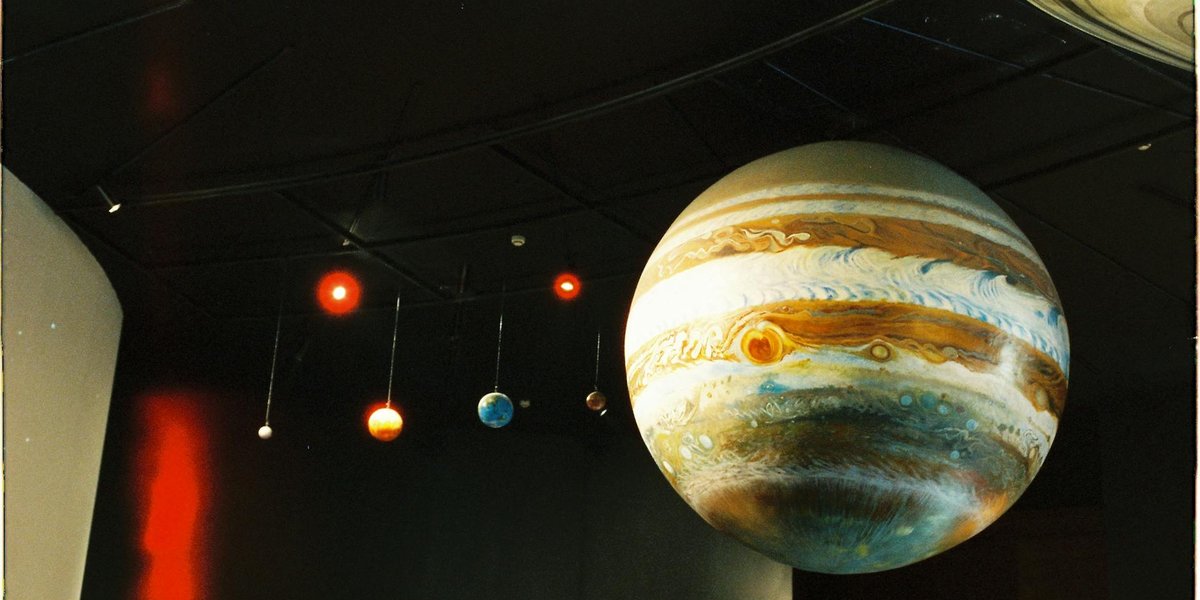
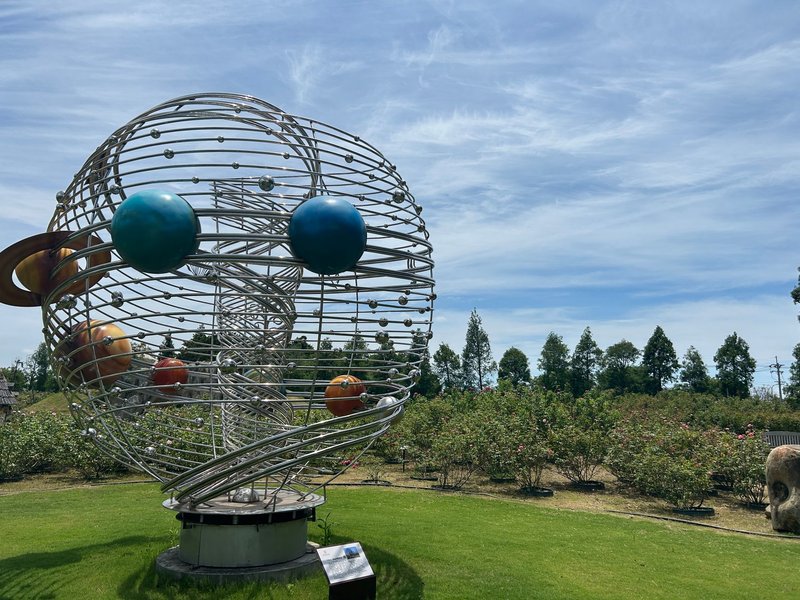
Models come in three flavors. Static models are the classic hanging mobiles and poster-board layouts: planets frozen in position, good for learning order and relative size. Orreries are mechanical models where the planets actually move around the Sun, usually hand-cranked or motorized; the name comes from Charles Boyle, the 4th Earl of Orrery, who commissioned one in the early 1700s. Scale models sacrifice convenience for accuracy, spreading planets across a hallway, a football field, or in a few famous cases, an entire city.
The catch that defines every one of them is the scale problem. The Sun is about 109 times wider than Earth. Neptune orbits roughly 30 times farther from the Sun than Earth does. You cannot honor both planet sizes and planet distances in the same desk-sized model — pick one, or accept that your model is schematic, not scaled. NASA’s own Solar System exploration pages are blunt about this: the spacing in nearly every illustration is compressed to fit the page.
DIY models by age and difficulty
Sorted from easiest to hardest. Pick the one that matches the kid and the deadline.
1. Pom-pom mobile (ages 3–6, easiest)
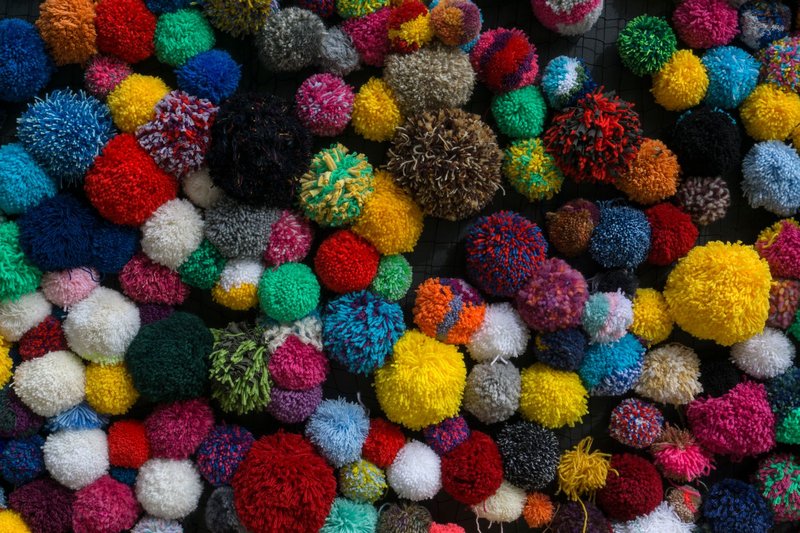
The toddler-friendly version. No painting, no drying time, no meltdowns.
Materials: colored pom-poms in graduated sizes, a paper plate or embroidery hoop, string, a glue dot or two, a marker.
Steps:
- Pick the biggest pom-pom for the Sun and glue it to the center of the plate.
- Arrange eight pom-poms outward in order — biggest two (Jupiter, Saturn) get the larger sizes, Mercury and Mars the tiniest.
- Glue them in a spiral or a line so they’re all visible.
- Punch a hole, add string, hang it up.
It teaches order and relative size without any fine motor demands. That’s the whole job at this age.
2. Painted styrofoam ball model (ages 6–10, classic)
The model everyone pictures. Reliable, forgiving, and it photographs well for the science fair.
Materials: styrofoam balls in five or six sizes (a 1-inch through 4-inch assortment covers it), acrylic paint, wooden skewers or floral wire, a styrofoam base, a hot glue gun.
Steps:
- Paint each ball before assembly — orange-yellow for the Sun, swirly blue-green for Earth, ringed beige for Saturn. Let them dry on skewers stuck in a box.
- Cut a Saturn ring from cardboard or an old CD and slot it around the planet.
- Insert skewers into the base, varying the heights so planets don’t collide.
- Glue each painted ball to its skewer.
Pro move: don’t make all the balls the same size. If Jupiter and Mercury are identical, you’ve taught the wrong lesson. Use the size assortment.
3. Paper-mâché planets (ages 8–12, messy but durable)
Materials: balloons, newspaper strips, flour-and-water paste (one part flour to two parts water), paint, fishing line.
Steps:
- Blow up balloons to graduated sizes and coat each in two or three layers of paste-soaked newspaper.
- Dry overnight — this is non-negotiable, and the most-skipped step.
- Pop the balloons, paint the shells, and hang from a hoop or dowel.
Heavier and sturdier than styrofoam, and the slightly lumpy surface actually reads as “planet texture” once painted. Budget two days for drying.
4. Motorized orrery (ages 12+, advanced)
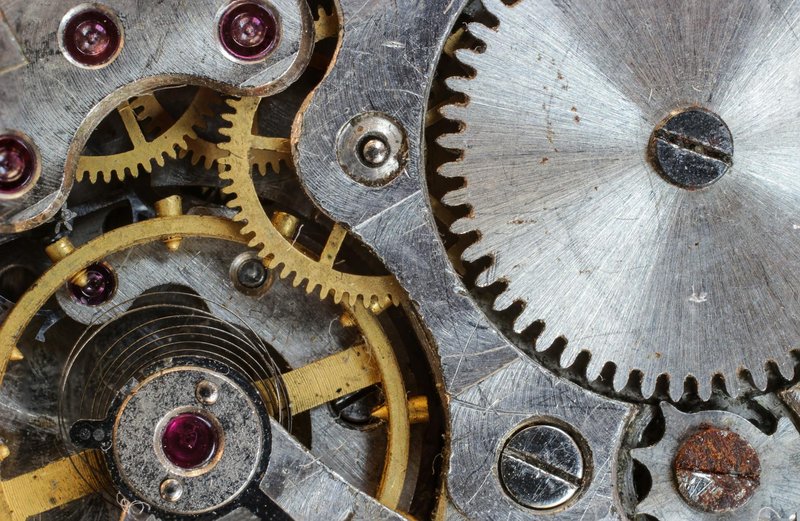
For the kid who’s past gluing balls and wants the planets to move. This is a build, not a craft.
Materials: a small geared DC motor or a snap-together gear kit, dowels or wire arms, painted beads or small balls for planets, a battery pack, a base.
Steps:
- Mount the motor vertically in the center of the base; this drives the Sun’s spindle.
- Use a gear train so outer planets rotate slower than inner ones — Mercury should visibly outrun Neptune.
- Attach each planet to a rigid arm at the correct relative orbital radius (compressed, but in the right ratio).
- Wire the battery pack and test before final assembly.
Gearing for accurate orbital periods is genuinely hard math, which is the point — this is a high-school physics project disguised as a toy. If you’re hunting for more builds at this level, our roundup of physics topics for study and projects is a good place to look next. Most people fake the ratios and just make it spin. That’s fine for a demo; only attempt true period gearing if you want the challenge.
5. To-scale walking model (any age, most educational)
The build that finally tells the truth. You won’t fit it on a table — that’s the lesson. Full instructions are in the scale section below.
Best solar system model kits to buy
Short on time? A kit skips the prep. Here’s how the main categories stack up.
| Kit type | Typical price | Best for | The tradeoff |
|---|---|---|---|
| STEM build-it set (paint + assemble) | $20–$30 | Hands-on learning, ages 8+ | Still requires an hour or two of work |
| Magnetic / hanging model | $25–$40 | Quick classroom display | Sizes are schematic, not scaled |
| Motorized orrery | $35–$55 | Showing orbital motion | Distances heavily compressed |
| Inflatable planet set | $20–$35 | Big visual impact, group teaching | Storage and durability |
| Projector / night-light model | $30–$50 | Bedrooms, younger kids | More decor than science tool |
What to actually look for: a kit that varies planet sizes meaningfully (skip anything where all planets are the same bead), includes the asteroid belt or at least mentions it, and labels planets rather than relying on color alone. Motorized kits are the most fun and the least accurate on distance — fair trade for watching Mercury lap the field. For the science-fair crowd, the paint-and-assemble STEM sets hit the sweet spot: enough work to count as a project, not so much that it eats a weekend.
How to make your model accurate to scale
This is the section competitors skip, and it’s the most interesting one. You can’t scale size and distance together on a tabletop — but you can nail either one if you give up the other.
Option A: scale the distances (walk the solar system). Shrink the whole system so Earth sits 1 meter from the Sun. The planet distances then land roughly like this:
| Planet | Distance from Sun (Earth = 1 m) |
|---|---|
| Mercury | 0.4 m |
| Venus | 0.7 m |
| Earth | 1.0 m |
| Mars | 1.5 m |
| Jupiter | 5.2 m |
| Saturn | 9.5 m |
| Uranus | 19.2 m |
| Neptune | 30.1 m |
Mark each spot with a flag down a hallway or driveway. The gut-punch: Mercury through Mars all cluster within a meter and a half, then there’s a yawning gap to Jupiter, and Neptune is way down the block. That emptiness is the solar system. At this distance scale, by the way, the planets would be microscopic — Earth would be a speck smaller than a grain of sand. Which is exactly why you can’t do both at once.
Option B: scale the sizes. Make the Sun a basketball (about 24 cm). At that scale, Earth becomes a peppercorn about 2 mm across, Jupiter a marble, and Saturn a slightly smaller marble. To keep distances honest at this scale, Earth would need to sit about 26 meters from the basketball and Neptune nearly 800 meters away — which is why size-scaled models almost always cheat the spacing.
The most famous demonstration of doing it right is in Sweden: the Sweden Solar System, the world’s largest scale model, uses the Stockholm Globe Arena as the Sun and places Neptune over 200 kilometers away in the city of Söderhamn. That’s the scale problem made walkable. The classic classroom version, the “Earth as a peppercorn” exercise developed by educator Guy Ottewell, has been taught for decades and needs about a kilometer of hallway to do honestly.
The teaching win here is simple: build a normal model for the desk, then do a distance walk for the reality check. The contrast between the two is the actual lesson.
Free printable: planet order and facts
Print this as a cheat sheet to tape next to the model. Order from the Sun, with the one fact each planet is famous for:
- Mercury — smallest planet; a day is longer than its year.
- Venus — hottest planet; spins backward.
- Earth — the only one with liquid surface water (so far).
- Mars — home to Olympus Mons, the tallest known volcano.
- Jupiter — most massive; the Great Red Spot is a storm bigger than Earth.
- Saturn — the rings are mostly ice and only ~10 meters thick in places.
- Uranus — tilted 98°, so it orbits on its side.
- Neptune — windiest planet; gusts top 2,000 km/h.
Pluto’s a dwarf planet now, reclassified by the International Astronomical Union in 2006 — include it as a bonus object if your model has room, and use the reclassification as a talking point about how science updates itself. If a curious kid asks what changed, the differences between a dwarf planet and a planet lay out exactly why Pluto got bumped.
Common mistakes
A few traps that turn a good model into a misleading one:
- All planets the same size. The single most common error. Jupiter could swallow over 1,300 Earths — your model should at least hint at that.
- Evenly spaced planets. Real spacing is wildly uneven. Even a schematic model reads better with bigger gaps toward the outside.
- Forgetting the asteroid belt. A scatter of grit or small beads between Mars and Jupiter costs nothing and adds accuracy.
- Saturn as the only ringed planet. Jupiter, Uranus, and Neptune have faint rings too. Worth a mention even if you don’t build them.
- Skipping the dry time on painted or paper-mâché builds. Wet paint plus assembly equals smudged planets and a bad afternoon.
Build the desk model for the photo. Walk the distance model for the understanding. Do both, and a kid walks away knowing the one thing a poster board can never show: that the solar system is mostly the space between things.