8 Tools Used in Paleontology
In 1811, Mary Anning’s find of an ichthyosaur along the Dorset coast—made with a hammer, a chisel and a sharp eye—helped move paleontology from hobby to practical science. Fossils tell stories about ancient climates, evolutionary steps and the organisms that once shaped ecosystems; they also populate the museum halls people visit today. From hand tools on cliffs to CT scanners in university cores, a compact set of specialized equipment allows teams to locate, document, stabilize and analyze specimens. Along the way those tools preserve stratigraphic position and taphonomic clues so a bone can teach about environment and behavior. This article explains eight essential tools organized into four categories—fieldwork essentials, surveying and documentation, preparation and conservation, and imaging and analysis—and shows how each contributes to discovery, preservation and scientific insight.
Fieldwork Essentials
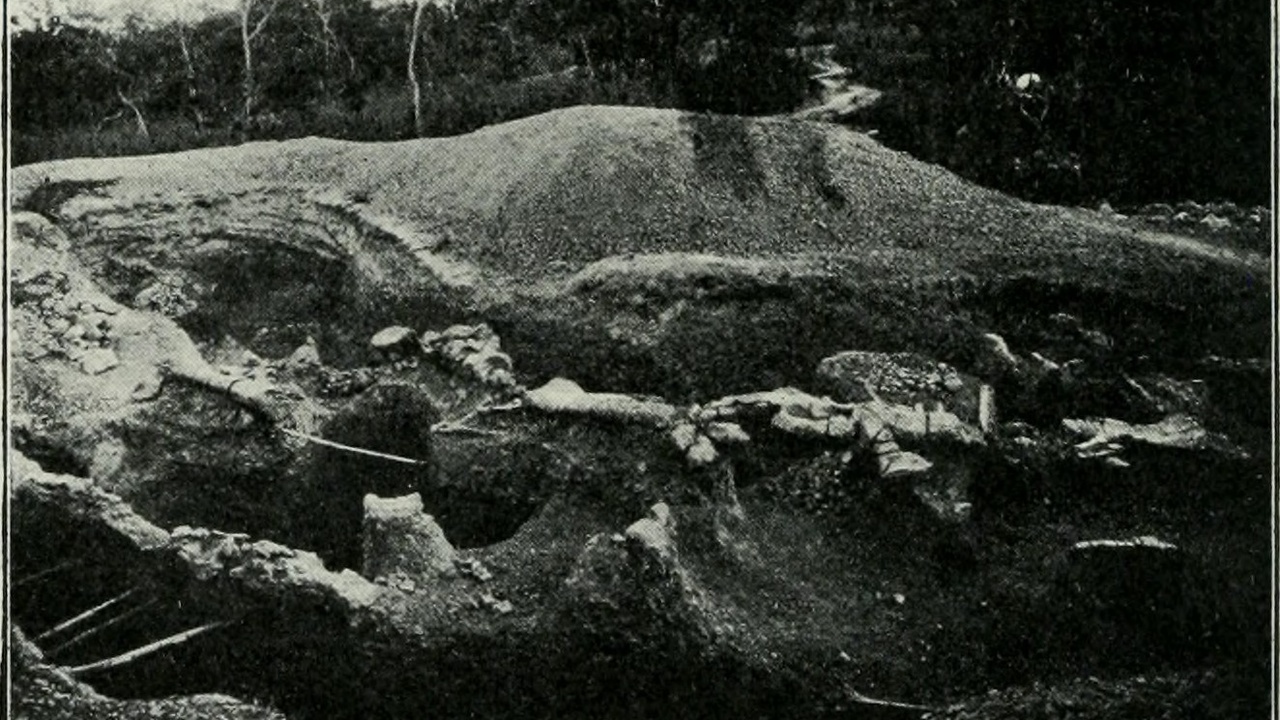
Fieldwork tools are the first line of defense for both fossils and the data they carry. These on‑site implements let teams find and extract specimens while preserving the surrounding rock and position, which is crucial for interpreting age and burial conditions. Safety, measured progress and careful recording are priorities: a rushed dig destroys context, while careful practice preserves stratigraphic information and taphonomic detail for decades of future study.
Primary role: discovery and careful extraction. Teams balance speed with preservation, often trading faster removal for better scientific value; a specimen’s true worth is only realized if its context is known.
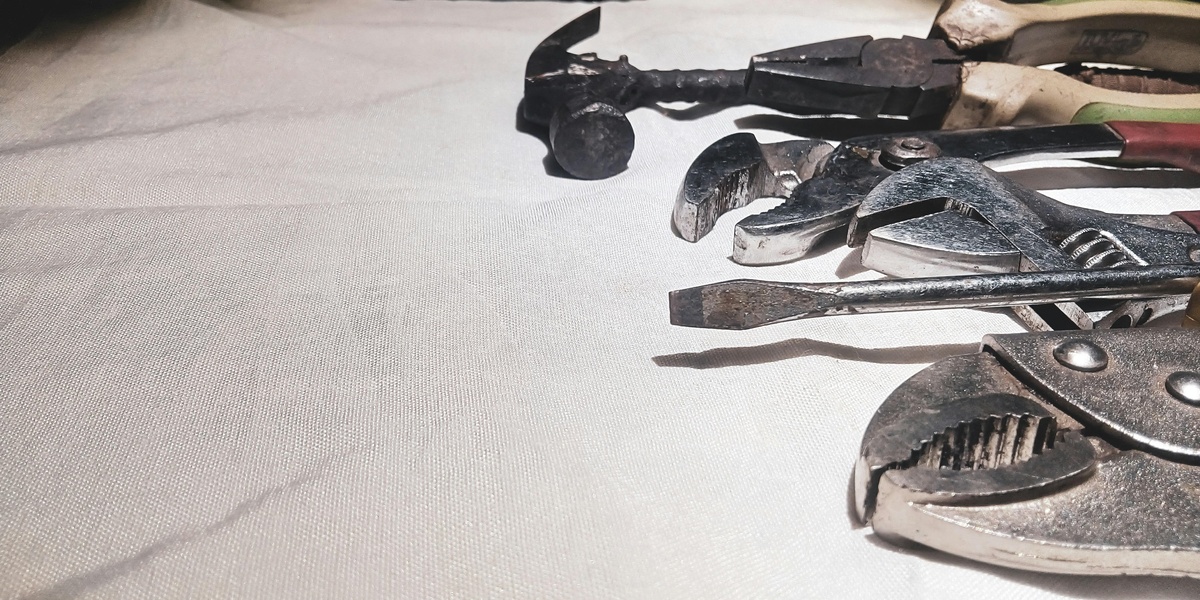
1. Geological Hammer and Chisels for Extraction
Geological hammers and chisels are frontline extraction tools, providing controlled force and tactile feedback that machines can’t match. Different hammer types—an Estwing rock hammer is common—plus a set of chisels let preparators split rock precisely and expose bone with minimal vibration. Hand tools have been used since the early 19th century and remain essential for small‑ to medium‑scale excavations.
Because hand tools offer centimeter‑level control, they’re preferred where heavy equipment would produce meter‑scale disturbance. Practical uses include selective splitting of bedding planes, removing weathered rock from bone surfaces and managing breakouts in brittle matrix. Teams always wear eye protection and gloves, and they keep a measured pace to protect fragile specimens.
Concrete examples: Mary Anning’s Dorset work (1811) began with simple hammers and chisels, and field crews at Hell Creek still use hand tools when working right beside delicate dinosaur bones.
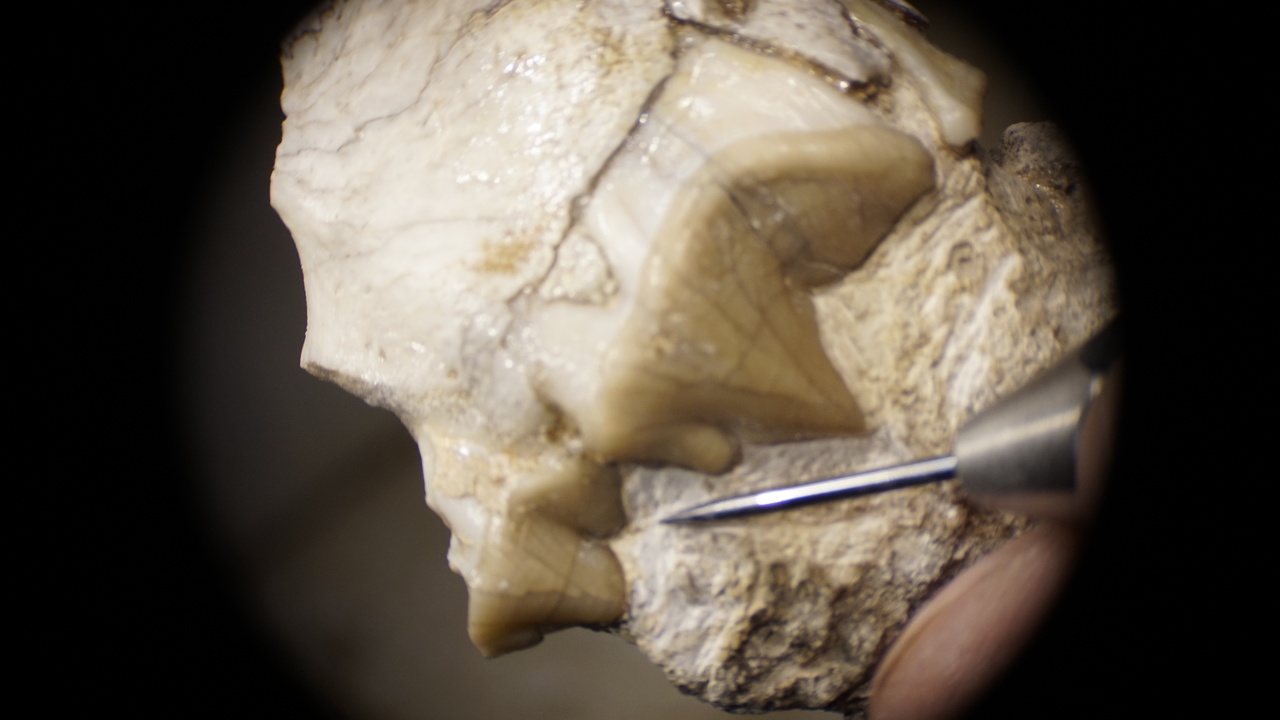
2. Brushes, Dental Picks, and Trowels for Delicate Excavation
Brushes, dental picks and small trowels are the fine‑control instruments that prevent irreversible damage during uncovering. Fine tools let preparators remove matrix millimeter by millimeter instead of gouging away surface detail.
Brush tips commonly range from about 0.5 to 2 mm, and skilled preparators often work at a few millimeters per hour around thin cortical bone to avoid loss of surface detail. These tools are used in the field and the lab alike: volunteers at the La Brea Tar Pits use small trowels and soft brushes in grid excavations, while dental picks reveal delicate ammonite sutures or scale impressions.
Precision matters because small features such as bite marks, growth lines and microtextures carry biological and ecological information that coarser tools would remove.
Surveying and Site Documentation
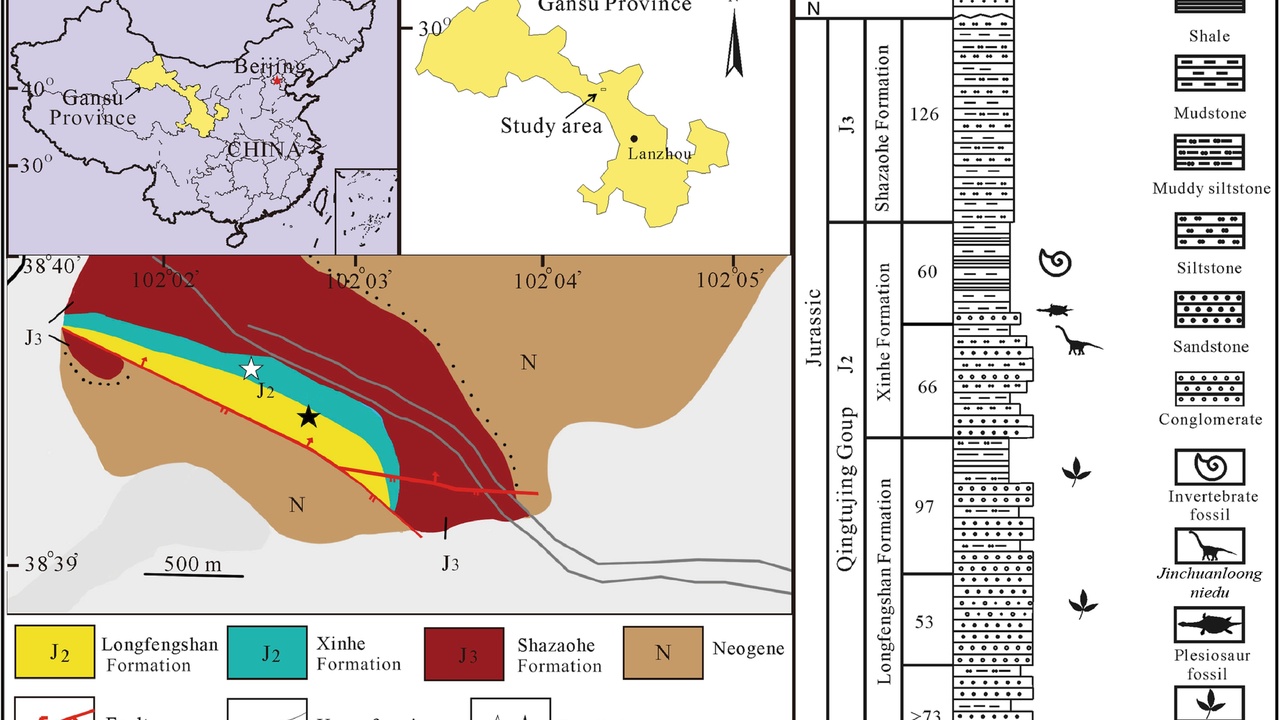
Recording precise location and stratigraphic context amplifies a specimen’s scientific value. Modern surveying tools preserve geographic coordinates, elevation and three‑dimensional position so research can be replicated and fossils can be placed into regional stratigraphic frameworks. Good documentation turns isolated finds into data points for paleoecology, biogeography and age correlation.
3. GPS Units and GIS Mapping for Location Data
Reliable location data are foundational to paleontological science. Handheld consumer GPS units typically deliver about 3–10 meters of horizontal accuracy, while differential GPS (DGPS) and survey‑grade receivers can achieve sub‑meter precision. Teams routinely record UTM coordinates, elevation and grid references to tie a specimen to its stratigraphic position.
Field crews export coordinate logs into GIS platforms such as QGIS or ArcGIS to produce maps and to integrate finds with museum accession records. That spatial data enables later analysis—mapping species ranges, correlating beds across outcrops, or returning to a precise spot decades later.
4. Total Stations, Laser Scanners, and Photogrammetry for 3D Capture
Three‑dimensional capture tools record the exact shape and position of fossils and their surrounding matrix. Terrestrial LiDAR and laser scanners produce dense point clouds—often tens of millions of points—while photogrammetry using a DSLR or even a smartphone can reach millimeter‑level accuracy under good conditions.
Applications include creating high‑resolution 3D models for analysis, fabricating replicas for exhibits, and virtually repatriating specimens. Software like Agisoft Metashape or RealityCapture converts overlapping photos into textured 3D meshes, and total stations provide survey control to tie models to real‑world coordinates.
Because photogrammetry is increasingly affordable, many projects now produce both archival 3D records and public‑facing models that preserve context even if the original site is later disturbed.
Preparation and Conservation Tools
Once a specimen is out of the ground, lab tools stabilize and reveal its anatomy. Conservators follow ethical guidelines—preferring reversible treatments when possible and documenting every intervention—so a fossil remains available for future techniques that may not yet exist.
Preparation turns fragile finds into stable specimens for study and display by consolidating powdery bone, removing matrix and reconstructing breaks. Proper conservation preserves scientific information while making specimens accessible without risk of damage.
5. Consolidants, Adhesives, and Plaster Jackets for Stabilization
Consolidants and field jackets prevent breakage during transport and long‑term storage. Paraloid B‑72 is a commonly used, reversible consolidant; cyanoacrylate adhesives are used selectively for quick stabilization. In the field, plaster‑and‑burlap jackets protect large bones during removal and shipping.
Field jackets vary in size from small wraps around pocket fossils to crates that weigh several hundred kilograms for large dinosaur elements. The Sue Tyrannosaurus rex excavation (discovered in 1990 near Faith, South Dakota) used extensive jacketing to protect massive bones during removal and transport to the museum.
Conservators record the materials and methods used so future teams know what substances are present and how to reverse or rework treatments if necessary.
6. Micro-sandblasters, Air Scribes, and Pneumatic Tools for Matrix Removal
Micro‑sandblasters and air scribes are controlled mechanical methods for removing hard matrix from bone. An air scribe delivers rapid, localized vibration to chip away matrix, while micro‑abrasive sandblasters use fine powders to erode rock in a focused area.
Micro‑abrasive media typically range from about 50 to 120 microns depending on matrix hardness. These tools are standard in museum prep labs—Smithsonian and many university facilities use microblasters and air scribes to free articulated bones or to clean delicate invertebrate shells.
Operator skill matters: control, appropriate abrasive selection and steady hand speed prevent loss of surface detail that holds taxonomic and taphonomic information.
Imaging and Analytical Tools
Imaging and geochemical tools convert specimens into quantitative data. Non‑destructive imaging reveals internal structures; microscopes and mass spectrometers reveal composition and age. Together these instruments let scientists infer growth, diet, physiology and paleoenvironment from preserved tissues and surrounding minerals.
7. CT Scanners and X-Ray Imaging for Internal Structure
CT scanning and X‑ray imaging let researchers see inside fossils without cutting them. Micro‑CT systems can achieve voxel sizes below 100 µm, enabling studies of tooth development, inner ear anatomy and delicate trabecular structures.
Applications include virtual preparation—digitally removing matrix—functional morphology studies and producing 3D printable models for outreach. University core facilities and natural history museums commonly provide scanning services and digital segmentation tools allow isolation of bones, cavities and occasionally soft‑tissue impressions.
X‑rays also serve as rapid, field‑deployable screening tools to decide whether a specimen warrants more extensive CT work back at the lab.
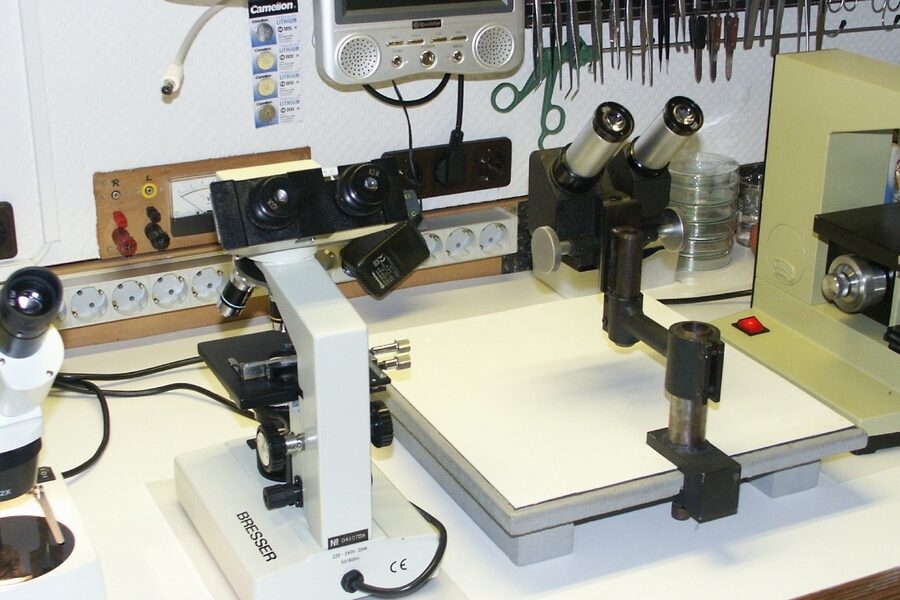
8. Microscopes, Geochemical Analyzers, and Mass Spectrometers for Dating and Composition
Microscopes and geochemical instruments unlock age and environmental signals preserved in fossils and their matrix. Instruments commonly used include SEM (scanning electron microscope), electron microprobe, stable‑isotope mass spectrometers and radiometric dating methods such as U‑Pb and K‑Ar.
Practical outcomes include U‑Pb zircon dating that constrains fossil‑bearing layers in millions of years—for example, Ediacaran deposits are constrained roughly between 635 and 541 Ma—and stable oxygen isotopes used to infer paleotemperatures. SEM imagery reveals microstructure such as growth lines in teeth and eggshell microornamentation.
Combined imaging and chemical data turn specimens into datasets that can be compared across regions and time, providing robust tests of evolutionary and environmental hypotheses.
Summary
From Mary Anning’s hammer and chisel in 1811 to micro‑CT scans with voxel sizes under 100 µm, a modest toolkit lets paleontologists protect and interpret remains of ancient life. Field tools and fine implements preserve context during discovery, surveying and 3D capture lock specimens into geographic and stratigraphic frameworks, and lab conservations and mechanical prep create stable, studyable material. Imaging and geochemical analyses then translate specimens into measurable data—dates in millions of years, isotopic values and internal anatomy—that drive scientific conclusions.
If you’re curious, visit a local natural history museum to see CT‑based 3D models or try simple photogrammetry with a smartphone on non‑protected fossils and share scans with citizen science projects. Small acts—documenting a find responsibly, supporting outreach, or learning to use a camera for 3D capture—help preserve both specimens and the scientific stories they tell.
- Field tools protect context: careful excavation preserves stratigraphy and taphonomy.
- Accurate documentation multiplies value: GPS, GIS and 3D capture make fossils reproducible data points.
- Laboratory conservation stabilizes fragile finds while retaining options for future study.
- Imaging and geochemistry convert specimens into quantitative evidence—ages, diets and paleoenvironments.